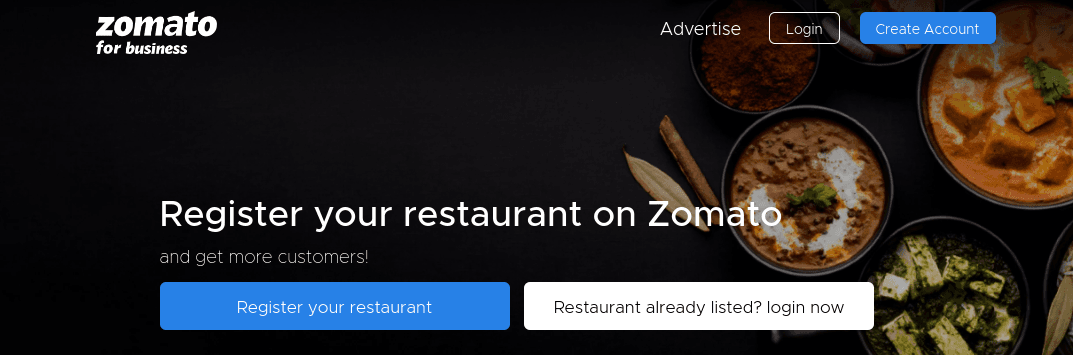
Seller Registration Guide for Zomato: Expand Your Restaurant's Reach
If you're a restaurant owner looking to reach a wider audience, Zomato offers a great platform for selling food online. With millions of active users across India, Zomato can help you increase visibility, attract new customers, and boost your sales. But before you can start receiving orders, you need to register as a seller. This guide breaks down the step-by-step process to help you get set up on Zomato with ease. Let’s dive in!
Why Register on Zomato?
Zomato is one of India’s leading food delivery platforms, providing numerous benefits for restaurant owners, such as:
- Wider Audience Reach: With millions of users across India, you can showcase your menu to a huge audience.
- Online Ordering: Zomato enables customers to place orders for your food online, increasing your revenue.
- Exposure: Zomato provides increased visibility to your restaurant that traditional methods can’t match.
- Customer Feedback: You can track ratings and reviews to monitor your performance and improve your offerings.
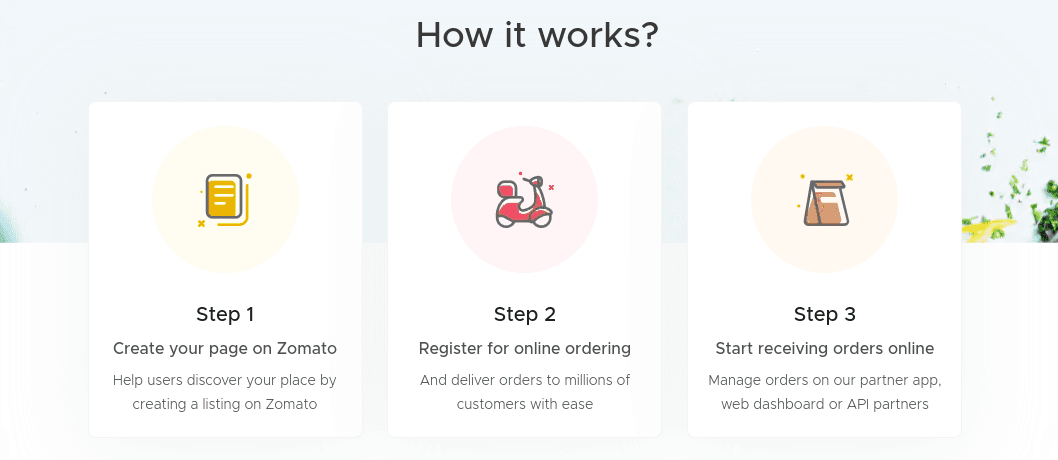
Step-by-Step Guide to Registering as a Seller on Zomato
Follow these simple steps to register your restaurant and start selling on Zomato:
Step 1: Visit the Zomato Registration Page
Go to the Zomato Partner Registration Page to begin your registration process.
Step 2: Click on "Register your Restaurant"
Click on the “Register your Restaurant” button to get started. You’ll be prompted to register using either your phone number or email address.
Step 3: Fill in Your Restaurant Details
Next, you’ll need to provide important details about your restaurant:
- Restaurant Name
- Location
- Type of Cuisine
- Contact Number
- Email Address
Ensure that all details are accurate to avoid any issues during the verification process.
Step 4: Upload Required Documents
Zomato requires you to submit certain documents for verification. These may include:
- Restaurant’s Legal Entity Name
- PAN Card
- GST Registration Certificate
- FSSAI Registration or License
- Bank Account Details
Additionally, you’ll need to upload images of your menu and the top 5 dishes to help customers identify your offerings better.
Step 5: Complete the Verification Process
Once you've uploaded all the required documents, Zomato will verify your information. This process may take some time, and you may be contacted for additional details or documents. Once the verification is completed successfully, you’ll receive confirmation from Zomato.
Step 6: Set Up Your Menu and Pricing
After verification, log in to your Zomato account to set up your restaurant’s menu and pricing. You can add, modify, or remove menu items and set the price for each item. Don’t forget to upload appealing food photos to attract more customers.
Step 7: Set Up Payment and Delivery Options
You can choose how you want to accept payments and manage deliveries:
- Online Payment options (Credit/Debit Cards, UPI)
- Cash on Delivery
- Delivery Radius and Delivery Charges
You can also set a minimum order value to ensure profitability per delivery.
Step 8: Start Receiving Orders
Once everything is set up, your restaurant will be live on Zomato! Customers can place orders, and you’ll be notified via the Zomato app or website. Manage and fulfill orders according to your restaurant’s operational workflow.
Step 9: Track and Improve Your Performance
Zomato provides performance metrics, including:
- Ratings and Reviews from customers
- Order Volume and Sales Reports
Monitor your performance and continually strive to improve based on customer feedback. High ratings and good reviews can help you gain more visibility and attract repeat customers.
Frequently Asked Questions (FAQs)
1. What is Zomato?
Zomato is an online food delivery platform that allows restaurants to showcase their menu, accept online orders, and reach a wider audience.
2. How do I register as a seller on Zomato?
To register, visit the Zomato website, click on “Register your Restaurant”, fill in your restaurant details, upload required documents, complete the verification process, and then set up your menu and delivery options.
3. What documents do I need to upload for verification?
You’ll need to upload the following documents:
- PAN Card
- GST Registration Certificate
- FSSAI License
- Bank Account Details
- Restaurant Legal Entity Name
Make sure to have soft copies ready before you begin the registration process.
4. What should I keep in mind when registering?
Ensure that your information is accurate, especially your contact details and menu. If you’re unsure about anything, reach out to Zomato’s support team for assistance.
5. How can I track my performance on Zomato?
Zomato provides ratings, reviews, and order history to help you track your restaurant’s performance. Use this data to make improvements and enhance customer satisfaction.
Conclusion
Registering your restaurant on Zomato can be a game-changer, providing access to a wide audience and a streamlined process for online food delivery. By following this guide, you’ll be able to set up your Zomato account and start selling quickly. Keep in mind that requirements and processes may change, so always check the latest information on Zomato's website.
Good luck with your restaurant’s journey to success on Zomato, and don’t forget to leverage your ratings and reviews to continue growing your business!
New to selling online? Get the full picture in our Guide to Selling Online in India — platform comparisons, GST registration, logistics partners, and payment gateway setup.
More platform guides: How to Sell on Amazon India · How to Sell on Flipkart · GST Registration for Sellers · File GST Returns with a CA
Ready to start or scale your online store?
Read our complete guide covering platform selection, GST registration, logistics, and payment gateways.
Newsletter
GST updates & guides, free.
Join sellers who get our weekly digest on GST compliance, e-commerce rules, and finance tips — no spam.
No spam. Unsubscribe anytime.